Top 10 Modular DIY Acoustic Panel Kits to Buy
Home offices, podcast rooms, classrooms, and open-plan studios increasingly need practical sound control. A Modular DIY Acoustic Panel can reduce reflections without demanding permanent construction or specialist installation. That flexibility matters when rooms change quickly.
Industry research supports this growing interest. Grand View Research reports that the global acoustic panels market was valued at approximately USD 10.6 billion in 2023. Its report also projects continued expansion through 2030, driven by commercial interiors, education, hospitality, and residential renovation. These figures describe market demand, not guaranteed performance. Product selection still requires careful testing.
The World Health Organization identifies excessive noise as a significant environmental health concern. Its Environmental Noise Guidelines for the European Region connect unwanted noise with sleep disturbance, annoyance, and other health risks. Acoustic panels cannot block every sound. They mainly absorb reflections and reduce reverberation inside a room.
This guide examines ten modular kits through practical criteria: absorption materials, panel thickness, mounting flexibility, fire-related documentation, visual finish, coverage, and installation effort. We also consider how panels perform near a desk, microphone, or hard floor. Small details matter. A thin panel placed randomly may look attractive but provide limited control.
Manufacturers often publish Noise Reduction Coefficient values, yet laboratory results may not represent every room. Room volume, wall distance, ceiling height, and panel spacing change the outcome. That limitation deserves attention. Our comparisons therefore combine manufacturer specifications with realistic use cases, while acknowledging that independent testing is not available for every kit. The best choice is not always the most expensive one.
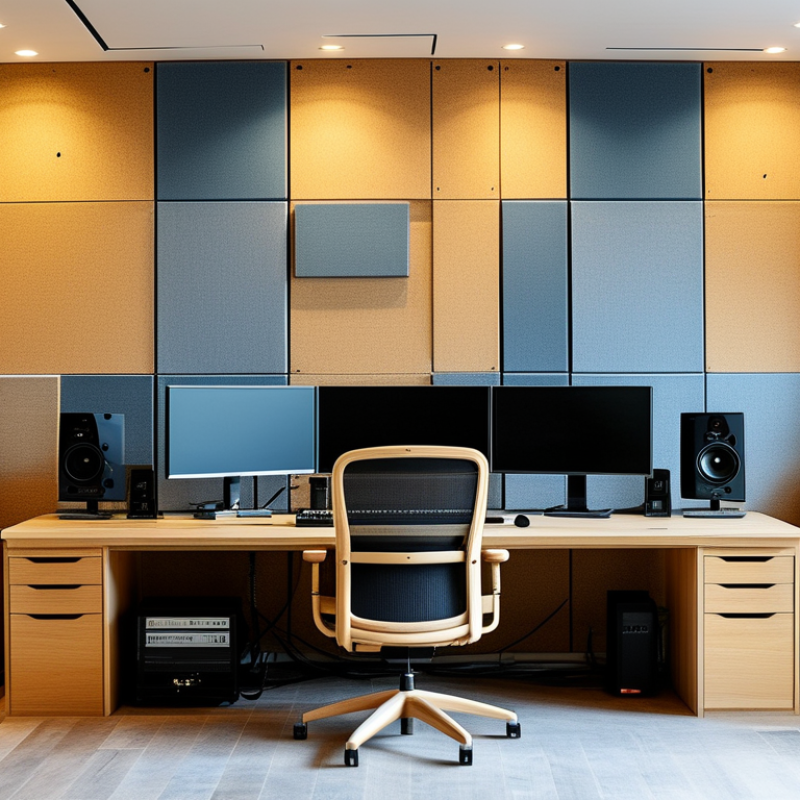
What Modular DIY Acoustic Panel Kits Are and How They Work
Modular DIY acoustic panel kits combine lightweight frames, sound-absorbing cores, fabric covers, and mounting hardware. Their sections connect into patterns on walls or ceilings. Inside a room, porous materials slow down sound energy and reduce reflections. This can improve speech clarity and soften harsh echoes.
The result is not true soundproofing. Panels mainly control reverberation, while doors, walls, and sealed gaps control sound transmission. ISO 354 and ASTM C423 measure absorption in controlled rooms, using ratings such as the Noise Reduction Coefficient. The World Health Organization’s Environmental Noise Guidelines recommend indoor nighttime noise below 30 dB(A). However, wall panels alone rarely achieve that target. Their value is more practical: fewer flutter echoes, clearer meetings, and less vocal strain. I have found that a small room can still sound uneven when panels cover only one wall. That limitation deserves attention.
Tips: Start with reflection points near desks, speakers, or microphones. Use a mirror to locate them. Leave some wall area untreated for natural liveliness. Check the panel’s tested absorption data, not only its thickness. A 50 mm panel with an air gap may perform better than a thicker panel pressed tightly against the wall. Measure the room before buying. Good intentions can still produce a dull, strangely quiet space.
Key Features to Compare Before Choosing an Acoustic Panel Kit
Choosing among the top 10 modular DIY acoustic panel kits requires more than comparing prices. Focus on measurable performance, not attractive fabric alone. A panel’s absorption rating, often shown as NRC, indicates how much sound energy it reduces. However, ratings can vary by testing method. Check the test details.
Panel thickness matters. Thicker cores usually absorb lower frequencies more effectively, while thin panels mainly control high-frequency reflections. A useful kit should offer flexible layouts, secure mounting hardware, and clear installation instructions. Removable modules are valuable when furniture changes or the room serves several purposes. Also inspect the frame quality, fabric breathability, and edge finish. Small gaps may reduce consistency. I have found that room placement often matters as much as the panel itself. That is easy to underestimate.
Tips: Clap near hard walls and listen for sharp echoes before buying. Measure the wall area. Leave an air gap behind panels when possible. Confirm the kit’s fire-safety information and replacement-part availability. Avoid trusting one impressive specification. Compare independent test data, warranty terms, and customer installation reports. A very dense panel is not automatically better. Nor is the most expensive option. Reflect on your room’s real problem: echo, speech clarity, or bass buildup. One kit may not solve all three.
How to Plan and Install a Modular Acoustic Panel System
How to Plan and Install a Modular Acoustic Panel System
A modular acoustic panel system begins with measurement, not shopping. Walk through the room during its busiest hour. Record room length, ceiling height, hard surfaces, and the listener’s position. Acoustic panels mainly reduce reflected sound. They do not block noise through walls. The WHO Environmental Noise Guidelines (2018) recommend outdoor night exposure below 40 dB Lnight to protect sleep. Your room may still feel loud because reflections increase speech clarity and fatigue.
For a practical plan, place panels at first-reflection points on side walls. Add ceiling panels above desks or recording positions. Use spaced mounts when possible; the air gap improves low-frequency absorption. Choose tested absorption data, such as coefficients measured under ISO 354. Arrange modules in a balanced pattern, leaving access to lights, vents, and fire-safety equipment. Ten small panels may outperform one crowded cluster. Measure again after installation with the same sound source and listening position. My first layout would probably over-treat the front wall. That is worth questioning.
Tips: Mark reflection points with a mirror and a helper. Keep panels level. Leave a small gap behind wall-mounted units. Check the manufacturer’s laboratory ratings, mounting load, and cleaning instructions. Avoid placing every panel at ear height; varied heights usually create more even control. A phone app can show trends, but it cannot replace calibrated testing.
Top 10 Modular DIY Acoustic Panel Kits to Buy
How to Plan and Install a Modular Acoustic Panel System
This planning chart compares ten practical modular layouts using standard 2 × 4 ft acoustic panels. Coverage is calculated from the number of panels, while the recommended layout should be adapted to room size, reflection points, listening position, ceiling height, and available wall space. Start with first-reflection points, then add panels behind the speakers and on the rear wall as needed.
How to Maintain and Upgrade DIY Acoustic Panel Kits Over Time
DIY acoustic panel kits perform best when treated as living room equipment, not permanent decorations. After installation, inspect the fabric, frame, and wall fasteners every few months. Look for loose corners, sagging cloth, or dust blocking the surface. A soft vacuum brush removes dust without damaging the fabric. Avoid soaking the panels, especially when they contain fibrous insulation. Moisture can create odors and reduce their effectiveness.
Upgrades should solve a specific acoustic problem. If speech still sounds harsh, add panels at the first reflection points near speakers or a desk. If bass remains uneven, repositioning the panels may help more than adding new ones. Leaving a small air gap behind each panel can improve low-frequency absorption. Measure the room before buying extra pieces. I once assumed more panels would fix an echo, but poor placement caused a dull, lifeless room instead. That mistake made testing essential.
Tips: Photograph the original layout before moving anything. Mark panel positions with removable tape. Check the mounting hardware after furniture changes. Replace damaged fabric promptly. Keep ventilation clear around the panels. Test one upgrade at a time, using the same music or spoken recording. Listen from several seats, not only the usual listening position. If the room becomes too quiet, remove one panel and reassess. Acoustic treatment is partly technical, but personal judgment still matters.